
Bare-Metal STM32 Please Mind The Interrupt Event | PDF | Microcontroller | Electrical Engineering
Bare-Metal STM32 Please Mind The Interrupt Event | PDF | Microcontroller | Electrical Engineering The tutorial series covers stm32 microcontroller programming, focusing on gpio operations without using the hardware abstraction layer (hal) or drivers. it aims to provide practical examples for easy understanding. In this tutorial, we’ll create an stm32 led blink example code project with the stm32 blue pill board. you’ll learn all the steps required to configure the stm32 microcontroller in cubemx & flash the code from stm32cubeide to the blue pill board. without further ado, let’s get right into it!.

LED Blinking STM32 Nucleo With Arduino IDE GPIO Pins, 46% OFF
LED Blinking STM32 Nucleo With Arduino IDE GPIO Pins, 46% OFF Learn to write stm32f4 bare metal drivers for gpio, timers, adc, and uart. step by step guide with code examples for embedded systems. For making the led to blink we need to configure gpio port c13 and add some delay. we see in the schematic that led turns on when gpio pin is ‘0’ logic and turns off when ‘1’. If you're going to use a dummy delay loop then you must write a delay loop that won't get optimized away by the compiler. you can do that by turning off compiler optimizations or declaring the loop counter variable as volatile. In this article, we are going to write a program at the bare metal level to blink an led.

LED Blinking STM32 Nucleo With Arduino IDE GPIO Pins, 46% OFF
LED Blinking STM32 Nucleo With Arduino IDE GPIO Pins, 46% OFF If you're going to use a dummy delay loop then you must write a delay loop that won't get optimized away by the compiler. you can do that by turning off compiler optimizations or declaring the loop counter variable as volatile. In this article, we are going to write a program at the bare metal level to blink an led. To keep things simple, let's write a code whose aim is to make the built in led toggle (each nucleo stm32 board has a built in led connected to the d13 arduino pin). Learn about the microcontroller's gpio module and associated registers. use the gpio module to interface with simple i/o devices (pushbutton and led). a bare metal project has nothing but the bare minimum code necessary for a microcontroller (or any programmed device for that matter) to function. In this article, we will explore how to perform bare metal programming on the stm32 blue pill development board using stm32cubeide. specifically, we will learn how to blink an led connected to pc13 pin by directly manipulating the gpio registers.

Stm32-gpio-led ⋆ EmbeTronicX
Stm32-gpio-led ⋆ EmbeTronicX To keep things simple, let's write a code whose aim is to make the built in led toggle (each nucleo stm32 board has a built in led connected to the d13 arduino pin). Learn about the microcontroller's gpio module and associated registers. use the gpio module to interface with simple i/o devices (pushbutton and led). a bare metal project has nothing but the bare minimum code necessary for a microcontroller (or any programmed device for that matter) to function. In this article, we will explore how to perform bare metal programming on the stm32 blue pill development board using stm32cubeide. specifically, we will learn how to blink an led connected to pc13 pin by directly manipulating the gpio registers.
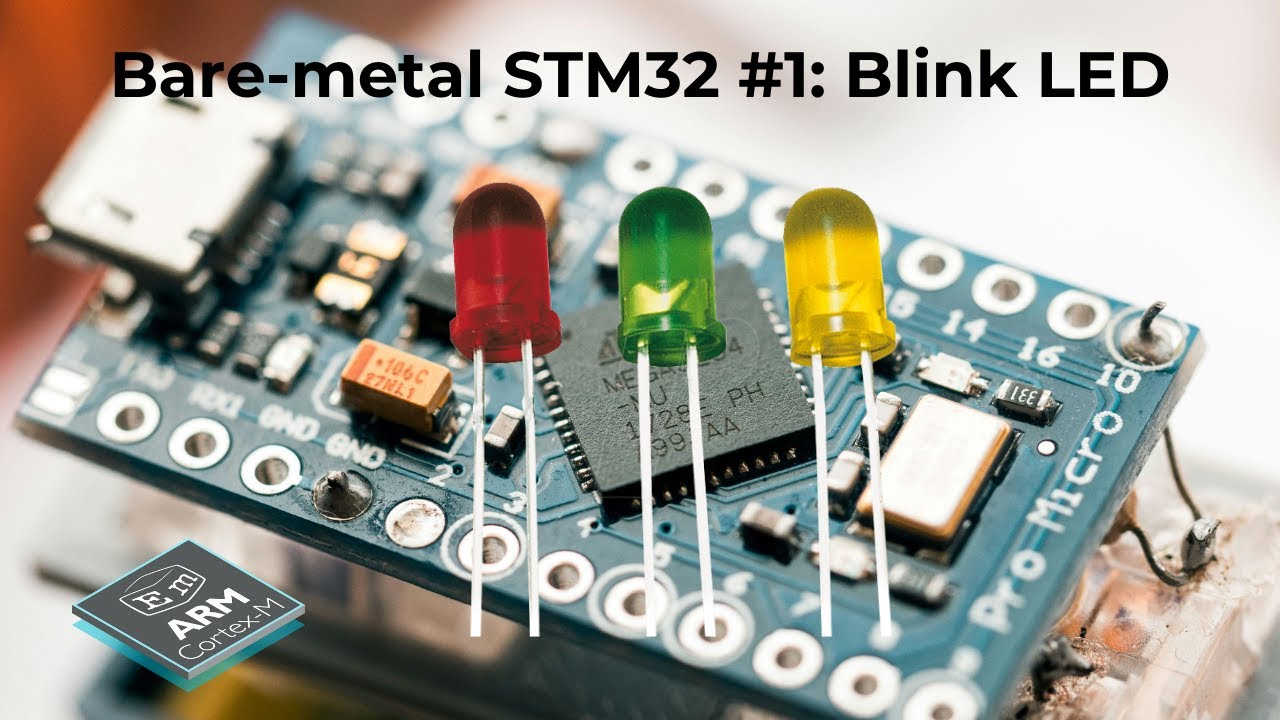
Bare Metal STM32 #1: Introduction & Write a GPIO driver to blink LED
Bare Metal STM32 #1: Introduction & Write a GPIO driver to blink LED
Related image with bare metal stm32 1 introduction write a gpio driver to blink led


Related image with bare metal stm32 1 introduction write a gpio driver to blink led


About "Bare Metal Stm32 1 Introduction Write A Gpio Driver To Blink Led"
Comments are closed.